「WordPress 4.2.1」のインストール。
WordPress 日本語版の動作環境
PHP バージョン 5.2.4 以上 (PHP 5.4 以上推奨)
MySQL バージョン 5.0 以上 (MySQL 5.5 以上推奨)
■「MariaDB」の設定。
[bibo-roku@centos ~]$ sudo /sbin/chkconfig --level 2345 mysql on ←自動起動設定。

[bibo-roku@centos ~]$ sudo vi /etc/my.cnf.d/server.cnf ←設定ファイル。

	# this is only for the mysqld standalone daemon
	[mysqld]
	character-set-server = utf8 ←追記。日本語使用。

[bibo-roku@centos ~]$ mysql -u root -pぱすわーど
---省略---

MariaDB [(none)]> show variables like 'char%';
+--------------------------+----------------------------+
| Variable_name            | Value                      |
+--------------------------+----------------------------+
| character_set_client     | utf8                       |
| character_set_connection | utf8                       |
| character_set_database   | utf8                       |
| character_set_filesystem | binary                     |
| character_set_results    | utf8                       |
| character_set_server     | utf8                       |
| character_set_system     | utf8                       |
| character_sets_dir       | /usr/share/mysql/charsets/ |
+--------------------------+----------------------------+

MariaDB [(none)]> status;
--------------
mysql  Ver 15.1 Distrib 10.0.17-MariaDB, for Linux (i686) using readline 5.1

Connection id:          3
Current database:
Current user:           root@localhost
SSL:                    Not in use
Current pager:          stdout
Using outfile:          ''
Using delimiter:        ;
Server:                 MariaDB
Server version:         10.0.17-MariaDB MariaDB Server
Protocol version:       10
Connection:             Localhost via UNIX socket
Server characterset:    utf8 ←「latin1」等だったら「utf8」に変更。
Db     characterset:    utf8 ←「latin1」等だったら「utf8」に変更。
Client characterset:    utf8 ←「latin1」等だったら「utf8」に変更。
Conn.  characterset:    utf8 ←「latin1」等だったら「utf8」に変更。
UNIX socket:            /var/lib/mysql/mysql.sock ←消えたら再起動。
Uptime:                 3 min 50 sec

Threads: 1  Questions: 5  Slow queries: 0  Opens: 0  Flush tables: 1  Open tables: 63  Queries per second avg: 0.021
--------------

[bibo-roku@centos ~]$ sudo /etc/init.d/mysql restart ←再起動。
Shutting down MySQL.. SUCCESS!
Starting MySQL..... SUCCESS!
|
|
「WordPress」は「apache」+「PHP」+「MySQL(MariaDB)」で動くそうなので、全て自動起動設定にしておきます。インストールの条件は整っていると思うのですが、「MariaDB」が「5系」でなく「10系」なのが気になるところです。
設定ファイルは「/etc/my.cnf.d/server.cnf」で文字コードの変更などをした場合は「MariaDB」の再起動が必要とのこと。データベースは途中から漢字使用などはできない(かもしれない。「???」表記になってしまう。)ので、最初に設定しておくことが大事と思われます。
MariaDB [(none)]> show variables like 'char%'; にて文字コードを調べます。
「latin1」等ですと、日本語表記が出来ませんので変更します。
MariaDB [(none)]> status; このコマンドでも情報を得られます。
変更したら「MariaDB」の再起動です。
■「MariaDB」で「WordPress」用のデータベース作成。
[bibo-roku@centos ~]$ mysql -u root -pぱすわーど
---省略---

MariaDB [(none)]> create database wp; ←「wp」データベース作成。
Query OK, 1 row affected (0.02 sec)

MariaDB [(none)]> grant all privileges on wp.* to wp@localhost identified by 'ぱすわーど'; ←全ての権限を持ったユーザー「wp」を作成。
Query OK, 0 rows affected (0.07 sec)

MariaDB [(none)]> exit
Bye
|
|
「WordPress」用のデータベース「wp」を作成しました。
「grant all privileges on」コマンドでユーザーの登録や権限の変更を初めとして全ての権限を与えることになります。 ユーザ名は半角英数の16文字までとのこと。
構文
GRANT権限 ON *.* TO ユーザ名 IDENTIFIED BY 'パスワード' WITH GRANT OPTION;
※「phpMyAdmin」でも同様のことが出来ると思いますが、今回はパスしています。(使い方がさっぱりわからぬ……。)
■「WordPress 4.2.1」のインストール。
[bibo-roku@centos ~]$ wget https://ja.wordpress.org/wordpress-4.2.1-ja.tar.gz ←ファイルをダウンロード。
--2015-05-04 21:58:33-- https://ja.wordpress.org/wordpress-4.2.1-ja.tar.gz
ja.wordpress.org をDNSに問いあわせています... 66.155.40.249, 66.155.40.250
ja.wordpress.org|66.155.40.249|:443 に接続しています... 接続しました。
HTTP による接続要求を送信しました、応答を待っています... 200 OK
長さ: 6775500 (6.5M) [application/octet-stream]
`wordpress-4.2.1-ja.tar.gz' に保存中
100%[===============================================>] 6,775,500 2.56M/s 時間 2.5s
2015-05-04 21:58:37 (2.56 MB/s) - `wordpress-4.2.1-ja.tar.gz' へ保存完了 [6775500/6775500]
[bibo-roku@centos ~]$ tar zxvf wordpress-4.2.1-ja.tar.gz ←解凍。
[bibo-roku@centos ~]$ sudo mv wordpress /var/www/html/ ←ディレクトリを移動。
[bibo-roku@centos ~]$ sudo chown -R apache:apache /var/www/html/wordpress ←権限を変更。
[bibo-roku@centos wordpress]$ sudo cp wp-config-sample.php wp-config.php ←設定ファイルのコピー。
[bibo-roku@centos wordpress]$ sudo vi wp-config.php ←設定ファイルを編集。
// ** MySQL 設定 - この情報はホスティング先から入手してください。 ** //
/** WordPress のためのデータベース名 */
define('DB_NAME', 'database_name_here'); ←「wp」に。
define('DB_NAME', 'wp'); ←変更後。
/** MySQL データベースのユーザー名 */
define('DB_USER', 'username_here'); ←「wp」に。
define('DB_USER', 'wp'); ←変更後。
/** MySQL データベースのパスワード */
define('DB_PASSWORD', 'password_here'); ←「任意のパスワード」に。
/** MySQL のホスト名 */
define('DB_HOST', 'localhost');
/** データベースのテーブルを作成する際のデータベースの文字セット */
define('DB_CHARSET', 'utf8');
/** データベースの照合順序 (ほとんどの場合変更する必要はありません) */
define('DB_COLLATE', '');
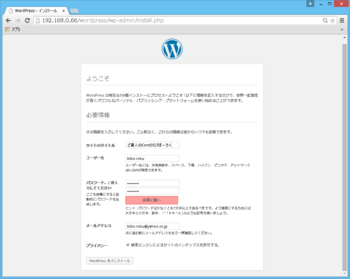
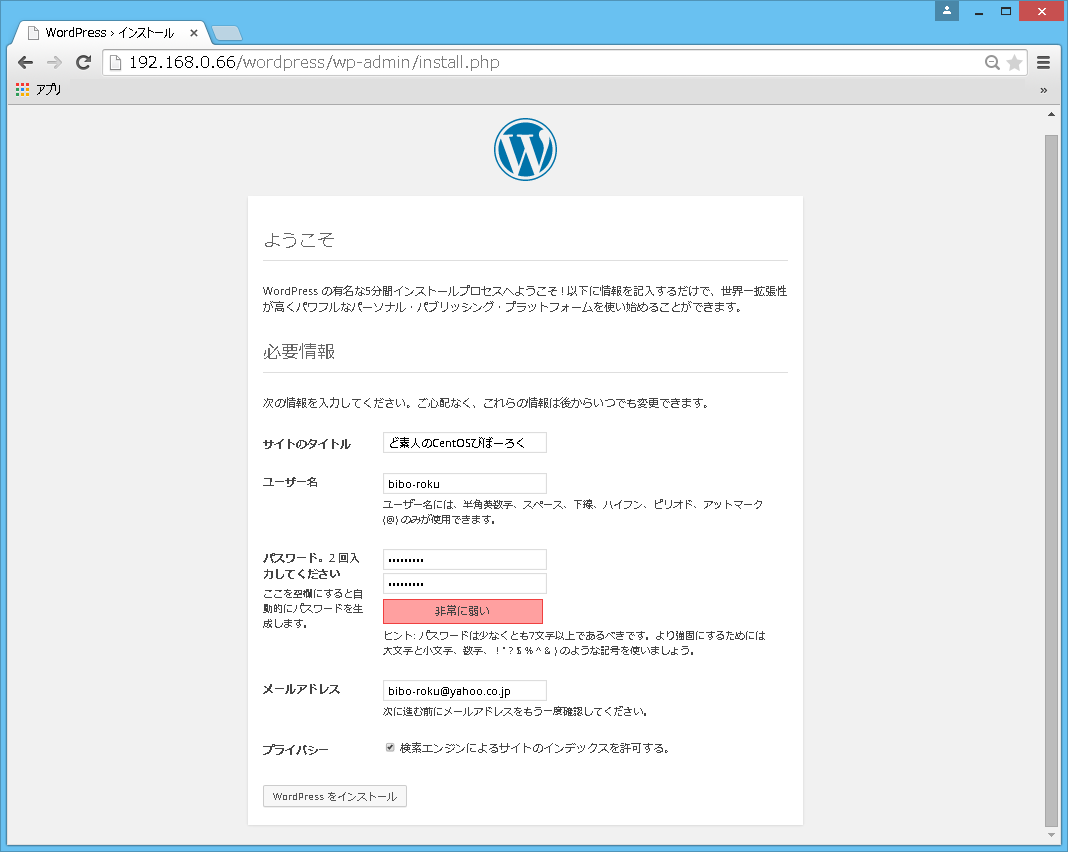
http://192.168.0.66/wordpress/wp-admin/install.php ←ブラウザでアクセス。
|
|
「wget」コマンドで「WordPress 4.2.1」のファイルをダウンロードします。
慣れないので迷うのですが、ダウンロード先ってどういうところが良いのでしょうかね。
そして解凍します。(これも同様で作業ディレクトリとか作るべきなんでしょうか。)
解凍したディレクトリは「/var/www/html/」以下に設置するとのこと。
ディレクトリの権限を「apache」に変更します。「apache」を利用して動くとのことですからなるほど納得です。
「WordPress」の設定ファイルをコピーしておいてから「wp-config.php」を「vi」コマンドにて編集します。
編集する項目は、MySQL(当方はMariaDB)で作成した物を使う必要があります。
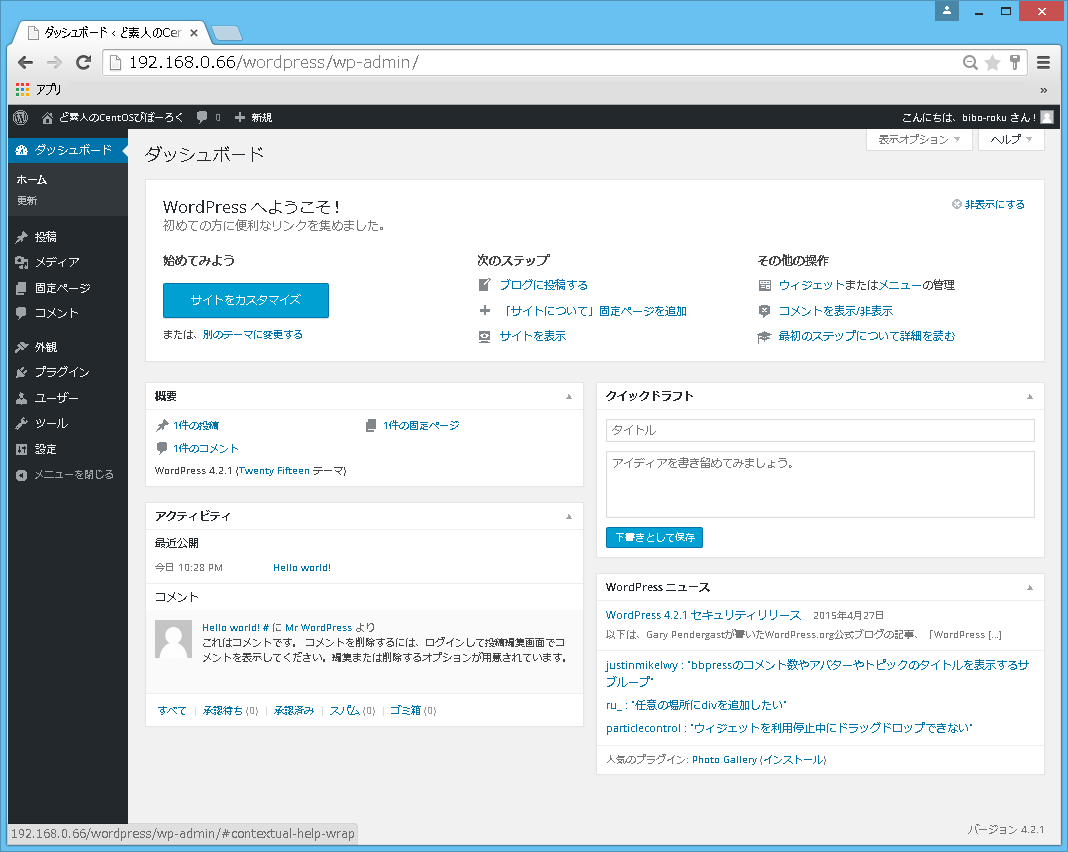
保存後、ブラウザにてアクセスしてみます。再起動の必要はありませんでした。
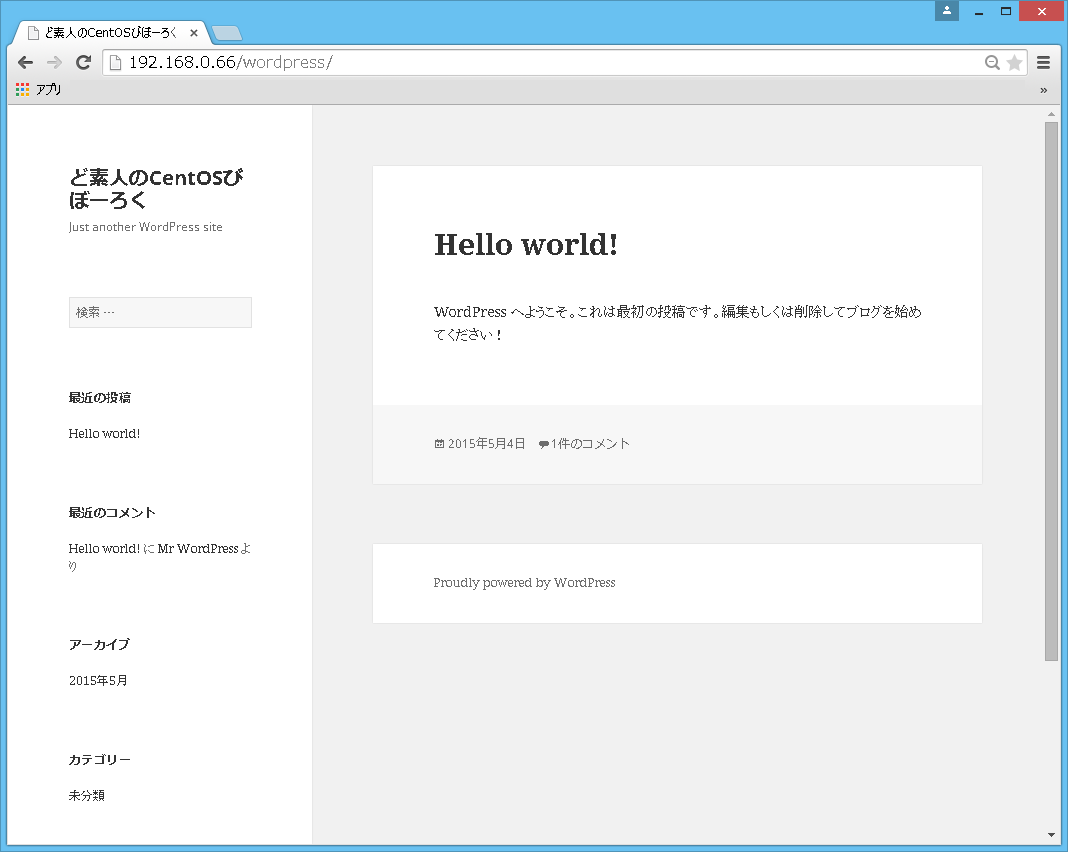
下記に画像を載せますが、入力項目は難しい物はございませんでしたので割愛でございます。
にしても、これは容易だったので驚きですね-。
あ、「MariaDB」が「5系」でなく「10系」でOKだったのも収穫でした。
---URL---
http://192.168.0.66/wordpress/wp-admin/install.php
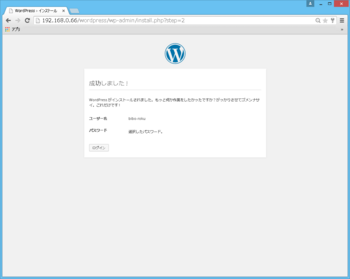
http://192.168.0.66/wordpress/wp-admin/install.php?step=2
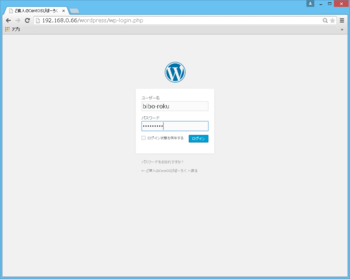
http://192.168.0.66/wordpress/wp-login.php
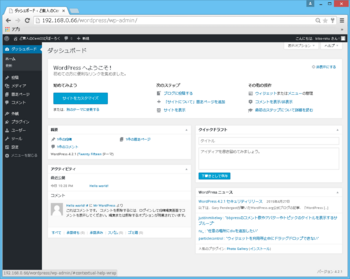
http://192.168.0.66/wordpress/wp-admin/
http://192.168.0.66/wordpress/

2015-05-05 00:09
nice!(0)
コメント(7)
トラックバック(0)
共通テーマ:パソコン・インターネット


沒有醫生的處方
cialis 10 doctissimo http://cialisyoues.com/ Tadalafil
by Cialis 5mg (2018-04-14 19:09)
Mua bán, nick facebook, cung cấp, tài khoản, facebook, mua, acc facebook. ...http://taikhoan.co
by CloneFBgoaxy (2020-05-09 23:14)
Bán TWITTER CỔ REG 2009>2015 - Instagram accounts
Click
https://accs.vn
by Josuehow (2021-07-04 00:37)
Bán TWITTER CỔ REG 2009>2015 - Instagram accounts
Click
https://accs.vn
by FloydNit (2021-07-07 13:33)
Bán TWITTER CỔ REG 2009>2015 - Instagram accounts
Click
https://accs.vn
by Josuehow (2021-07-12 16:46)
Telegram group scraper bot Free Download
<img src="https://telegramgroupscraper.com/telegram-scraper.png">
What is Telegram Group Scraper ?
Telegram Group Scraper is a software by which you can find active users for your Telegram Group. Trying to find members conventionally might take months to get a niche-based audience. But, when you use Telegram Scraper, you can find active members from your competitors without even spending a day. Besides that, Telegram Group Scraper complies with the TOS of Telegram as it uses Telegram API to find users. While using this software, you can customize your search settings and filter your users while you are uploading them. You can also save the details of these members as a CSV file.
Why should you use Telegram Group Scraper?
There are numerous benefits of using Telegram Group Scraper. However, it depends upon your purpose. If you have a small business and want to generate new leads, you can use this software to reach out to your target audience. By doing so, you can increase the click-through rate and enhance the number of sales.
You can also use Telegram Group Scraper for promoting an event or your business. In a nutshell, this software would help you build your Telegram Group from scratch. It can also assist you in finding an active audience who would find your content as complying with their interests.
What are the features of Telegram Scraper software?
The main features of Telegram Group Scraper that you have to consider include:
• By using this software, you can find active members who have a real interest in the products you are offering. Through this, you can grow your business without any hassle.
• You can use Telegram Scraper to export members from other niche-based groups into a CSV file. You can use these details to add members to your Group.
• You can make changes to the search settings, which would help you to filter the users. Through this, you can ensure that you are finding the right audience.
• Even though you can only import 8000 members per day, you can export an unlimited number of users. You can use Telegram Group Scraper for this purpose. Instead of importing members to your Group, you can also use the details to send bulk messages.
How to download Telegram Group Scraper Bot?
You can download Telegram Group Scraper from here
https://filehug.com/Telegramgroupscraper_2021.zip
https://filerap.com/Telegramgroupscraper_2021.zip
https://fileshe.com/Telegramgroupscraper_2021.zip
Thx u
by ScraperPab (2021-08-10 07:55)
Sell Tài khoản Gmail cổ 2009>2015 - Tài khoản Gmail Mới Chất lượng tốt : https://MuaGmail.com
Visit
https://MuaGmail.com
Thanks a ton
Tags:
mua accounts Gmail cổ
mua bán accounts Gmail
bán accounts Gmail
đăng ký nick Gmail
by Stevenfaply (2021-10-31 08:34)